

So, we’ve made the decision that we’re going to ride through this winter. This might be every day, the odd brisk commute to work, or the occasional weekend blast – but before hitting the road we need to prepare your bike for winter to ensure it remains perfect come spring next year.
There are obvious issues when riding in winter; the muck and grime gets everywhere. But we also need to think about road salt, which is used to stop the roads from freezing, as it can be highly damaging. Salt can get in everywhere and loves to eat your bike, especially the expensive parts. So, here is our guide about how to prepare your bike for winter.
Go shopping
You definitely need some quality cleaning kit. You’ll need some cloths, microfibre, anti-corrosion spray, a range of quality brushes (maybe the odd toothbrush), WD40 or similar and chemical cleaner to remove the grime. It’s possible to buy everything in one block, check out Muc-Off or Oxford products.
Time
A summer clean can take an hour or so, a deep winter clean can be close to half a day, depending on your bike. Don’t clean your bike before the ride, but after it. Always put your bike away clean. If you’re out all day Saturday, put your bike to bed in the evening, and clean the next morning. If you’re commuting, clean on a weekend, ready for the next week. Storing a bike with road salt is criminal. Try not to rush the cleaning process, take your time.
Clothing
You will get dirty, make sure you’re in old kit. Latex gloves not only keep your hands warm in winter but also clean. Just don’t let your mates catch you washing your bike in pink marigolds!
Secure
Ensure your bike is secure before cleaning. The centre stand or paddock stands make life much easier as you can rotate wheels without moving the bike.
Rinse
The first job is to remove as much grime as possible with a jet wash or hosepipe rinse. Be extremely careful if you choose to use a jet wash, and don’t stand too close as it can remove stickers and damage rubber seals.
Cleaning
Remember the shampoo, chemical cleaner, or whichever product you are using, should be doing the work for you, you shouldn’t be aggressively rubbing or brushing, which can cause scratches. Be liberal with the cleaner, and make sure you get into all the hard to reach places. This is where a varied amount of brushes come in useful. I’ve used paintbrushes, toothbrushes – time to see what is in the shed and what works best and remember not to put toothbrushes back in the bathroom. Again, don’t be too aggressive.
Take your time
If necessary, remove some bodywork to get to the hard to reach spots, removing the belly pan means you can get to the downpipes more easily.
Get dirty
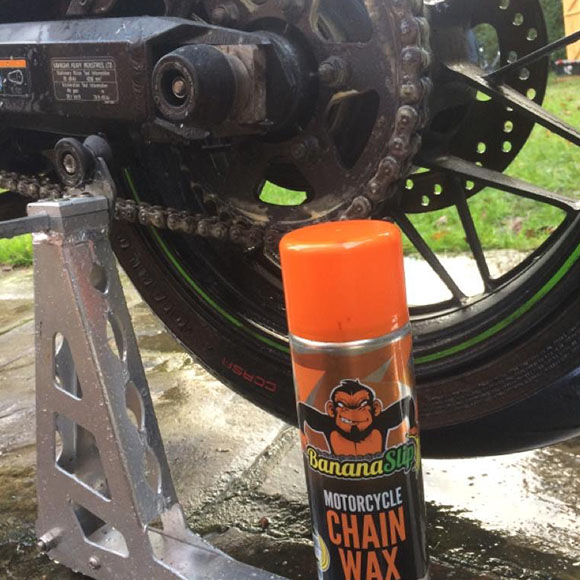
Work the cleaner into the hard to reach spots, rear sprocket, and front sprocket, around the calipers, downpipes, exhaust, headstock, radiator and all the spots where salt and grime hides. The rear shock can be a pain to get to, but it needs to be done.
Rinse and dry
Once you’re happy and you’ve taken your time on a deep clean, rinse again, and dry with quality cloths. Start at the top of the bike, wing mirrors, screen, fuel tank and work your way down. Remember water runs down, so dry down, simple. Make sure you don’t have pools of water collecting anywhere, the fuel cap is a classic. In the past, I have used an air pressure hose or even a hairdryer to dry the bike. You can even buy specialist blowers which blow-dry the bike and get rid of all the water in the hard to reach places – often used by race teams.
Anti-corrosion
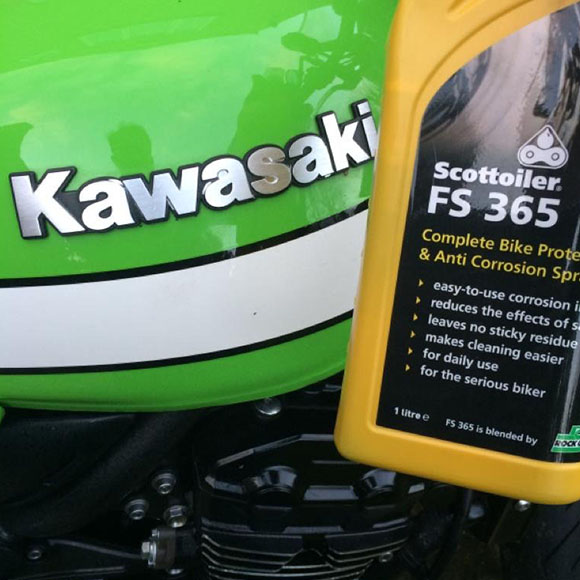
Now the bike is immaculate you need to apply your anti-corrosion treatment, which will prevent your bike from corrosion over winter. There are a huge number of products on the market. In the past, I’ve used Scottoiler FS365, WD40, Muc-Off products and ACF 50. Some are applied directly to the bike, some on a quality cloth first. Remember to avoid getting any on the brake discs.
Time
Again take your time. If it’s the first time you’ve done this it feels like it’s taking forever, but it’s much easier the next time. And, the more time you spend applying the anti-corrosion treatment, the better your bike will appear come spring next year. You’re almost adding value to your bike as you do this. I usually start at one side of the bike and work my backwords, from levers to chain adjuster, then repeat at the other side.
Brakes
You need to take great care around the brakes. You can apply to the wheels, bolts, spindle, forks, but not the discs or caliper. If you have a spray-on product, spray on to the cloth first. In the past I’ve covered the discs and calipers with old newspapers, just to make sure they are protected. And, don’t forget the rear disc, the same rule applies.
Plastic
Now for the easy bit, apply a protective coating to the bodywork, this can be a wax or polish, again there is a huge spectrum of products to choose from on the market. This not only allows your bike to shine but will prevent dirt and grime sticking to your bike, making the next clean easier. Don’t just do the bits you can see, remember the underside of the bodywork, back of the clocks, mudguards, tail-tide, chain guard, you’re not just cleaning the fuel tank.
Make a Brew
Go inside and make a brew, which should allow your hands to warm up. Now with a cuppa in hand, admire your work and have a quick check over. Did you spin the wheels and chain when you were cleaning them? Have you re-attached bodywork which you removed? Is it fitted correctly? Can you spot any missed spots? Once done, cover, lock up and she is ready for the next ride. Don’t worry the first clean is the worst. But, hopefully the next clean will be easier, as the muck and grime won’t stick to the bike as easily.
